

Having ensured that source DWG files are in accordance with details under Guidance Notes, select the Create Symbol tab...
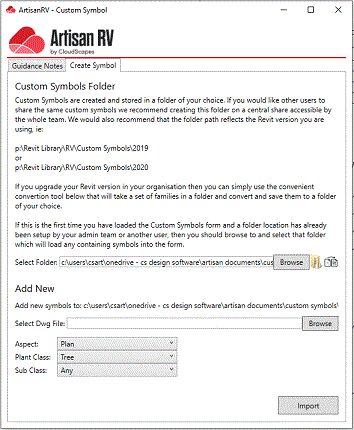
Custom symbols are created in a folder of your choice and consideration should be given to define a central share that is accessible to other team members in an organisation. Due to Revit's lack of backward compatibility, it is recommended that the defined folder path reflects the Revit version you are using (e.g. YourNetworkDrive\ArtisanRV\Custom Symbols\2019).
If this is the first time you have loaded the Custom Symbols form and a folder has already been setup by your admin team or another user, then you should browse to and select that folder, which will automatically load any symbols contained in that location. Note the recommendation about ensuring you are pointing to a folder path reflects the Revit version you are using.
By Select Folder, pick Browse to define or change the folder location where Custom Symbols are to be stored.

Note that an option is provided to display the Select Folder in Windows Explorer.

This enables users to check the contents of the folder prior to importing a new symbol and also to confirm that symbols are added after importing. Symbols imported comprise a Revit family (*.rfa) and associated *.xml file
Add new symbols to the defined Custom Symbols folder by picking Select DWG File - Browse.
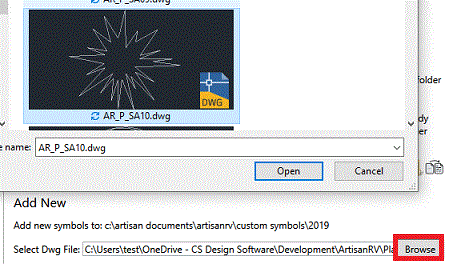
Users are able to create either Plan or Elevation Symbols.
Select the appropriate Aspect (Plan or Elevation), Plant Class and Sub Class and pick Import to convert the selected DWG file to a Revit (*rfa) format.

Note that when selecting Elevation from the Aspect menu, a Plant Form option is presented.
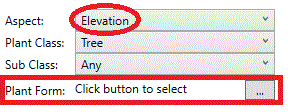
Users are prompted to "Click button to select"... which displays a list of available plant form options.
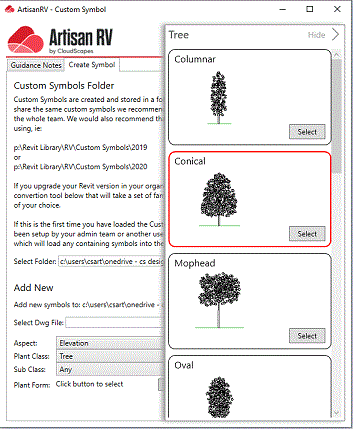
Select the preferred option, which is subsequently displayed against Plant Form...

Pick Import to create and store the Custom Symbol as defined.
If the import was successful, the image should fit the square box displayed (plan symbol, left, elevation symbol, right)...
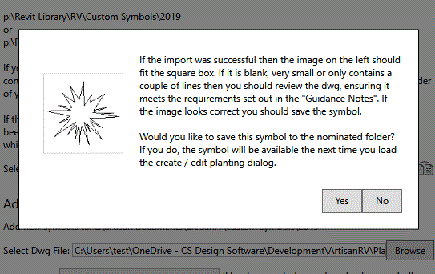
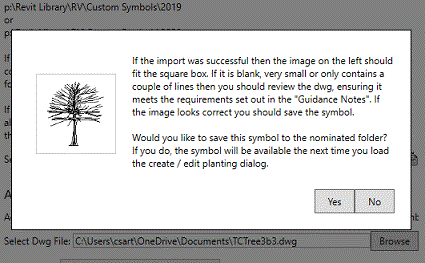
If the image inside the box is blank, very small or only contains a part of the source DWG, it is recommended that users review the Guidance Notes , modify the source DWG before reattempting to create the Custom Symbol.
If the image looks correct, pick Yes to save the symbol.
Continue adding symbols to the Select Folder changing Aspect (Plan or Elevation), Plant Class etc as required.
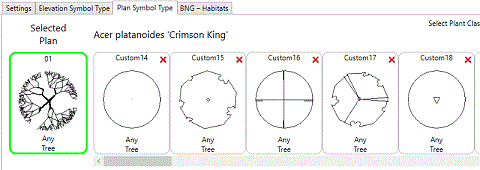
Custom Symbols added to the defined folder are displayed in the Create Singular Planting dialog and are named with an incrementing number suffix e.g. Custom14, Custom 15 etc.
Custom Symbols displayed when Plan Symbol Type tab is selected.
Custom Symbols displayed when Elevation Symbol Type tab is selected.
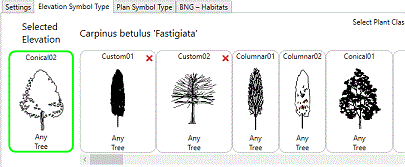
User defined symbols are identified with a title 'Custom' and these can be deleted by picking the red cross (X).
Custom Symbols are created as Revit families (*.rfa) in the Revit version in which they were created. If users target the same folder and symbols when placing planting while operating later versions of Revit, the selected symbols are automatically converted to the later Revit version. This process will result in a time lag as files are converted dynamically as ArtisanRV planting fmailies are dynamically created and also the updated symbols will no longer be available to earlier versions of Revit as the program is not backwardly compatible.
To overcome the above, it is recommended that the Custom Symbols folder path reflects the Revit version you are using and that a new sub-folder is created for subsequent Revit versions. Custom Symbols need to be recreated for each Revit version required and a utility is available to automatically upgrade all familes within the source folder to the current Revit version and saves these to a folder of your choice.