

Purpose
Alter labels that have already been placed. Note that the Edit Label tool enables users to change records of any Artisan Label in the file. Users are also able to switch a plant (or mix) for an existing label (or modofy all/any associated specification details, using the Substitute Planting tool.
Area Planting Labels and Linear Planting Labels
When users place Area Planting Labels and Linear Planting Labels, a direct association is made between the label and the associated CAD geometry (line. polyline etc). Modifying the associated CAD geometry (line. polyline etc) using native CAD commands, automatically modifies the label information.
Modifying Area and Linear Label Geometry
Single Planting Labels with a Linking Line
If users manually delete a symbol that has been created as Single Planting with a Linking Line (either Existing Symbols with Linking Line or New Symbol with Linking Line), the associated label will automatically be adjusted to reflect the deletion.
Usage
1. Click the Edit Selected Labels button
|
|
Click the Edit Selected Labels button on the Label Ribbon Panel. If labels are already selected then move to Step 3. |
Note the Edit Labels pop-down menu displays a number of editing options.

By default, Edit Selected Labels command is run when picking the Edit Labels button.
2. Select Labels
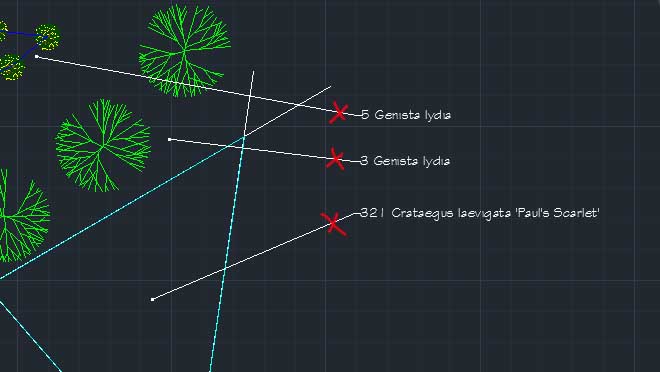 |
Click on each label that is to be edited or use the CAD system's window selection tools to select them. When they are all selected press Enter |
3. Edit Label Dialog (properties displayed differ depending on label(s) selected )
|
|
|
|
|
|
Use the Filter by option to refine the list of labels to be edited...
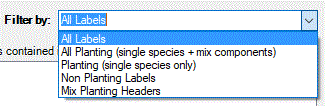
The top list box in the dialog lists each different item that has been selected. The number of labels for that item is quantified in brackets after the items name. Note that it is the number of labels indicated not the calculation of the items.
4. Select Label(s) to alter

Click on the labels in the top list box to select them for editing.Only labels of the same type can be selected together (i.e. only all plant labels, all non-plant labels or all mix headers)
The fields in the bottom section are then populated with the data from the label(s).In this example some fields are populated with (Multiple) this indicates that more than one label is selected and the labels have different values for this field.
5. Edit the fields
Change the field values to the ones required and then click the Apply button to save the changes.
Users are able to add information into the Additional Data Fields (Location, Objective, User Data 1, User Data 2) or to edit information previously entered when labels were initially inserted. This is particularly useful when wanting to define multiple labels with the same values for scheduling.
Notes
Some fields directly effect the appearance of the label or the calculation formula:
Mix% - Only applies to mix constituents. Changes the percentage coverage of the item in the length or area of the label.
Plant Spacings - Can be defined as either 'Centres' or 'Density'. Note that entering a value in either 'Centres' or 'Density' will automatically over-ride the other. Users are able to define either a Centres value or a Density within the Palette Builder, but are able to dynamically switch between the two Plant Spacing options (or view both) in labels and/or schedules.
Centre Distances - Overrides the default centre distances for this item and cause a recalculation of numbers for this item.
Fixed Quantites - Overrides the calculation altogether and use this number for the number of the item.
Slope Factor - The effective area or length will be increased taking into account the slope ratio entered here. For the formula used see the Slope Reference page.
Template - Change the fields displayed in the label's text. For a full list of macros that can be used in a template see the Label Template Reference page.
Links


