Purpose
Insert a new local report into the drawing. (Can also be used to edit an existing local report - see the Notes section)
Usage
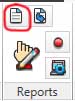
1. Click the Insert Report button
|
|
Click the Insert Report button on the Reports Ribbon Panel. (To edit an existing report it must be selected first - see the Notes section) |
2. Insert Report dialog
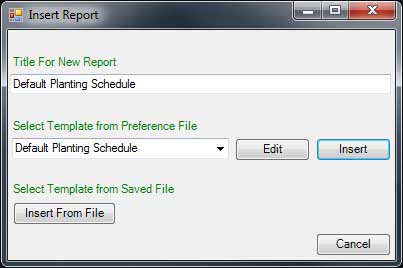 |
The Insert Report dialog is displayed. |
3. Select Template from Preference File
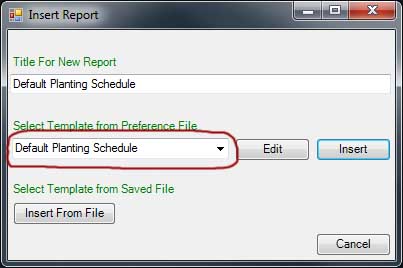 |
Select the desired report template from the drop-down list. |
4. Edit Template
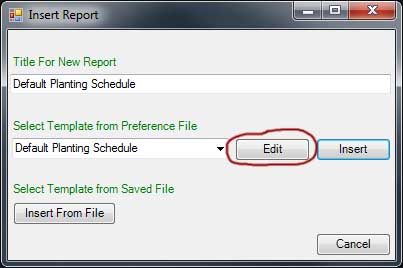 |
To place an edited version of the template on the drawing click on the Edit button. (See Local Report Templates Editing for details on how to edit a template.) |
5. Edit Report Title
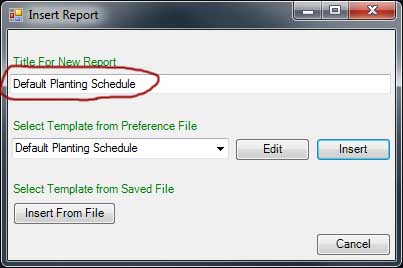 |
By default the report will have the same title as the template. If required the title can be altered before the report is placed in the drawing. |
6a. Insertion from Template
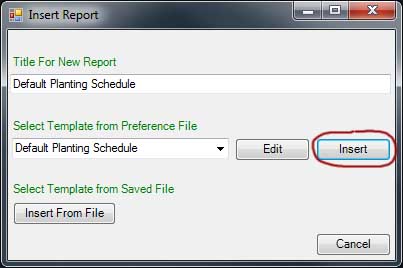 |
To insert a preference file report click the Insert button next to the template name. |
6b. Insertion from File
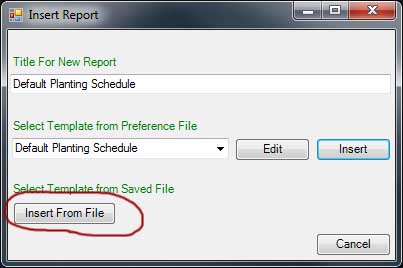 |
To insert an XML file report click the Insert From File button. A dialog will open allowing the report file to be selected. |
7. Place Report
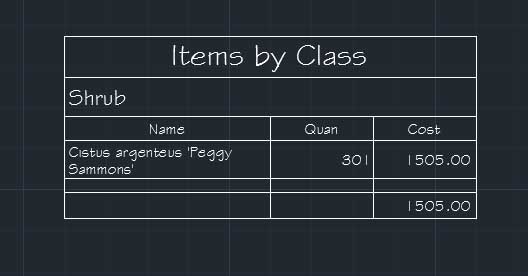 |
Click the drawing where the top left point of the report is to be drawn. The report will be constructed and completed. |
Notes
The Insert Report command can also be used to edit the format and inclusions of an existing report.
Select the report that needs to be edited and then click the Insert Report button. The Local Report Template Editor will display allowing the changes to be made,
Links